
ADAS Calibration After Vehicle Maintenance: Which Jobs Require It?





ADAS Calibration After Vehicle Maintenance: Which Jobs Require It?
A windshield replacement, wheel alignment, or suspension repair can affect how a vehicle’s advanced driver assistance systems interpret the road—but which jobs actually require recalibration? For aftermarket service technicians, automotive maintenance calibration is a safety-critical decision guided by vehicle-specific original equipment manufacturer (OEM) procedures, not a universal checklist.
The practical question is whether the repair changed a sensor’s position, its viewing path, the vehicle’s geometry, or an electronic reference used by the system. Even then, the required response may be sensor calibration, steering-angle initialization, another relearn, or a combination. Knowing the difference helps prevent both unnecessary work and incomplete repairs.
Start With the Vehicle, Not the Warning Light
Identify the VIN, fitted driver-assistance equipment, and relevant repair operations before estimating calibration work. Similar-looking vehicles can use different cameras, radar units, mounting arrangements, and calibration routines. Model year alone may not establish the correct procedure; equipment variations and production changes can matter.
Consult current OEM service information for calibration triggers, prerequisites, tooling, and completion criteria. Check both the component replacement instructions and the ADAS adjustment procedure. Requirements are not always presented in the same place. OEM position statements can provide context, but they do not replace the detailed service procedure.
No diagnostic trouble code does not prove correct sensor alignment. A sensor can remain electrically functional after its physical reference changes. Conversely, an ADAS warning may result from contamination, low voltage, wiring faults, or temporary operating limitations rather than a calibration problem.
Maintenance and Repair Jobs That Deserve a Calibration Check
Windshield replacement and forward-camera work
For vehicles with a windshield-mounted forward camera, glass replacement is a common calibration trigger. The camera’s relationship to the road depends on its bracket position and the installed glass. Removing and reinstalling the camera may also trigger calibration, even when the original windshield remains in place.
Confirm the correct glass specification, bracket condition, camera seating, and viewing-area cleanliness. Follow applicable adhesive curing and safe-drive-away instructions as well as calibration requirements; these are separate conditions for completing the job. Calibration is not a remedy for distorted glass, a loose bracket, or an incorrectly installed camera.
Wheel alignment, steering adjustment, and suspension repair
Wheel alignment can change the relationship between the vehicle’s direction of travel and its sensor references. Some OEM procedures require an ADAS calibration or adjustment after alignment; others specify conditions that determine whether it is necessary. Do not assume every alignment requires every sensor to be calibrated.
Steering-angle sensor initialization is also distinct from camera or radar calibration. A scan-tool steering reset does not automatically satisfy a forward-camera aiming requirement. Check the required sequence, particularly when steering gear replacement, subframe movement, or rear alignment adjustment is involved.
Suspension work deserves the same scrutiny. Replacing springs, struts, control arms, or ride-height components can affect geometry or vehicle attitude. Complete mechanical repairs, confirm the required ride-height condition, and perform any specified alignment before sensor calibration. Aftermarket lowering or lifting may put the vehicle outside supported OEM calibration conditions; a successful tool message alone does not resolve that compatibility question.
Bumper, grille, radar bracket, and collision repairs
Front radar units may sit behind a bumper cover, grille, or emblem. Rear corner radar can support blind-spot monitoring and rear cross-traffic functions. Sensor removal, bracket disturbance, mounting-panel repair, or a collision near those locations can trigger inspection and calibration requirements.
Removing a bumper cover does not universally require radar calibration, but it is not automatically exempt either. Determine whether the sensor moved and whether the OEM procedure specifically requires adjustment after that operation. Inspect mounting points before attempting calibration.
Also check restrictions on repairing or refinishing radar transmission areas. Filler, coatings, accessories, and replacement trim can affect sensor performance. A radar unit may be aimed correctly yet still have an unsuitable material or obstruction in front of it.
Mirror, camera, module, and electrical work
Replacing a mirror-mounted camera, front or rear surround-view camera, or associated body component may require image alignment or calibration. A plausible-looking composite parking image is not sufficient evidence of correct calibration. Follow the specified target layout and verification routine.
Sensor or control-module replacement may involve programming, configuration, initialization, and calibration as separate operations. Battery disconnection alone is not a universal reason to recalibrate ADAS, although it can require vehicle-specific relearns. Likewise, software updates may prescribe subsequent calibration; read the update instructions rather than assuming the programming process completes everything.
Routine oil changes, filter replacement, or like-for-like tire service generally do not justify blanket ADAS calibration when nothing relevant has been disturbed and no OEM trigger applies. Tire size, pressure, suspension condition, and ride height can nevertheless be prerequisites for a calibration performed for another reason.
Static or Dynamic: The Procedure Determines the Method
Static calibration uses a stationary vehicle and specified reference equipment, such as targets or radar reflectors. The procedure may control target distance, height, lateral offset, vehicle centerline or thrust-line reference, floor conditions, and lighting. These dimensions are vehicle-specific—not values to copy from another job.
Dynamic calibration requires driving under defined conditions while the system learns its references. Depending on the vehicle, requirements can include a prescribed speed range, visible lane markings, suitable weather, and a particular scan-tool routine. An ordinary road test is not necessarily a dynamic calibration.
Some systems require both methods in a specified sequence. Others permit only one. A shop cannot substitute dynamic calibration because its bay is too small for the static setup. If road conditions prevent completion of a required dynamic procedure, record the incomplete status and arrange compliant completion rather than treating elapsed driving time as proof.
Measurement Discipline Matters Before the Scan Tool Starts
A calibration routine assumes its prerequisites are correct. If the vehicle is loaded unevenly, the target is referenced to the wrong point, or the floor does not meet the procedure’s conditions, the setup may introduce error before the electronic process begins.
The Global Precision Tools & Welding Matrix (GPTWM) connects industrial assembly and precision-metrology intelligence. That measurement perspective applies directly here: dependable results require controlled references, suitable equipment, and a recorded method—not simply a capable diagnostic tool.
Before starting, verify the conditions specified for that vehicle:
- Mechanical condition: Correct tire specification and pressure, acceptable suspension condition, required loading, and completed alignment where prescribed.
- Sensor installation: Secure brackets, correct fasteners and torque, clean viewing surfaces, and no unresolved mounting damage.
- Reference setup: Correct target identification, orientation, distances, heights, and reference points measured as instructed.
- Environment and equipment: Suitable floor and lighting conditions, required clear space, current compatible software, and any specified voltage support.
Avoid generic tolerances. A floor, target placement, or ride-height deviation acceptable for one procedure may not be acceptable for another. Measuring instruments and alignment equipment also need appropriate verification and maintenance; an inaccurate reference can compromise an otherwise careful setup.
What a Completed Calibration Should Demonstrate
Scan-tool confirmation is important, but it is only one part of completion. Check the OEM’s acceptance criteria, confirm the required routines finished, review relevant diagnostic codes, and perform the prescribed functional checks or road test. Do not deliberately provoke emergency braking or another hazardous intervention to demonstrate operation.
When calibration fails, investigate prerequisites before repeating the routine. Wrong vehicle selection, an incorrect target, mounting damage, unresolved alignment problems, environmental interference, or missing programming can each prevent completion. Repeatedly moving a target until the tool accepts it is not a controlled diagnostic method.
Keep a repair record that another technician can follow: vehicle identification, reason for calibration, service information used, relevant measurements, alignment results where applicable, routines performed, completion reports, and remaining faults or limitations. For dynamic work, record the completion status and relevant operating conditions. Photographs can support the record but do not replace measurements or electronic results.
Plan Calibration Before Promising Delivery
In-house capability should be assessed against the vehicles and systems actually serviced. A target kit and scan-tool subscription do not establish coverage for every model. Bay dimensions, floor suitability, technician training, software access, and road conditions can determine whether a job is practical.
When outsourcing, identify the sensors involved and confirm who handles alignment, programming, calibration, and final verification. Request vehicle-specific completion evidence rather than an invoice stating only “ADAS done.”
The most useful decision point comes before the repair: identify the operation, check its OEM calibration triggers, and build the required measurements and verification into the work order. That is a more defensible approach to automotive maintenance calibration than either calibrating everything or waiting for a warning light.
Related News
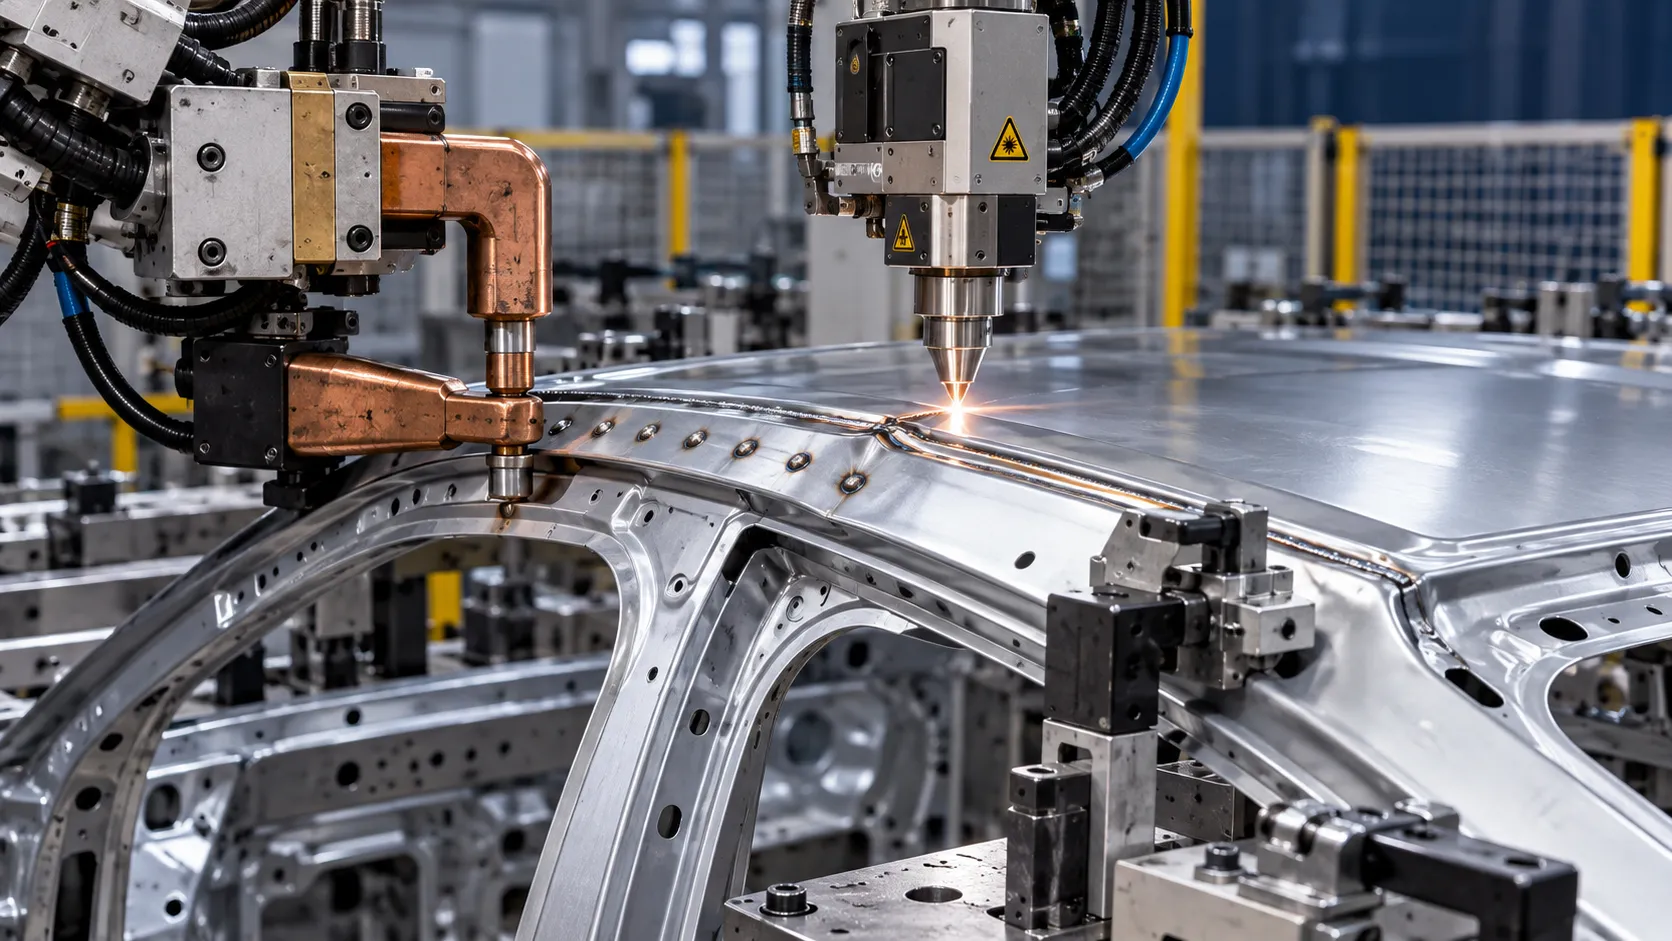
Laser vs. Resistance Spot Welding: Which Fits Automotive Body Assembly?
Choosing welding technology for automotive body assembly? Compare laser and resistance spot welding on joint access, quality, cycle time, and cost to find the right fit for your production line.
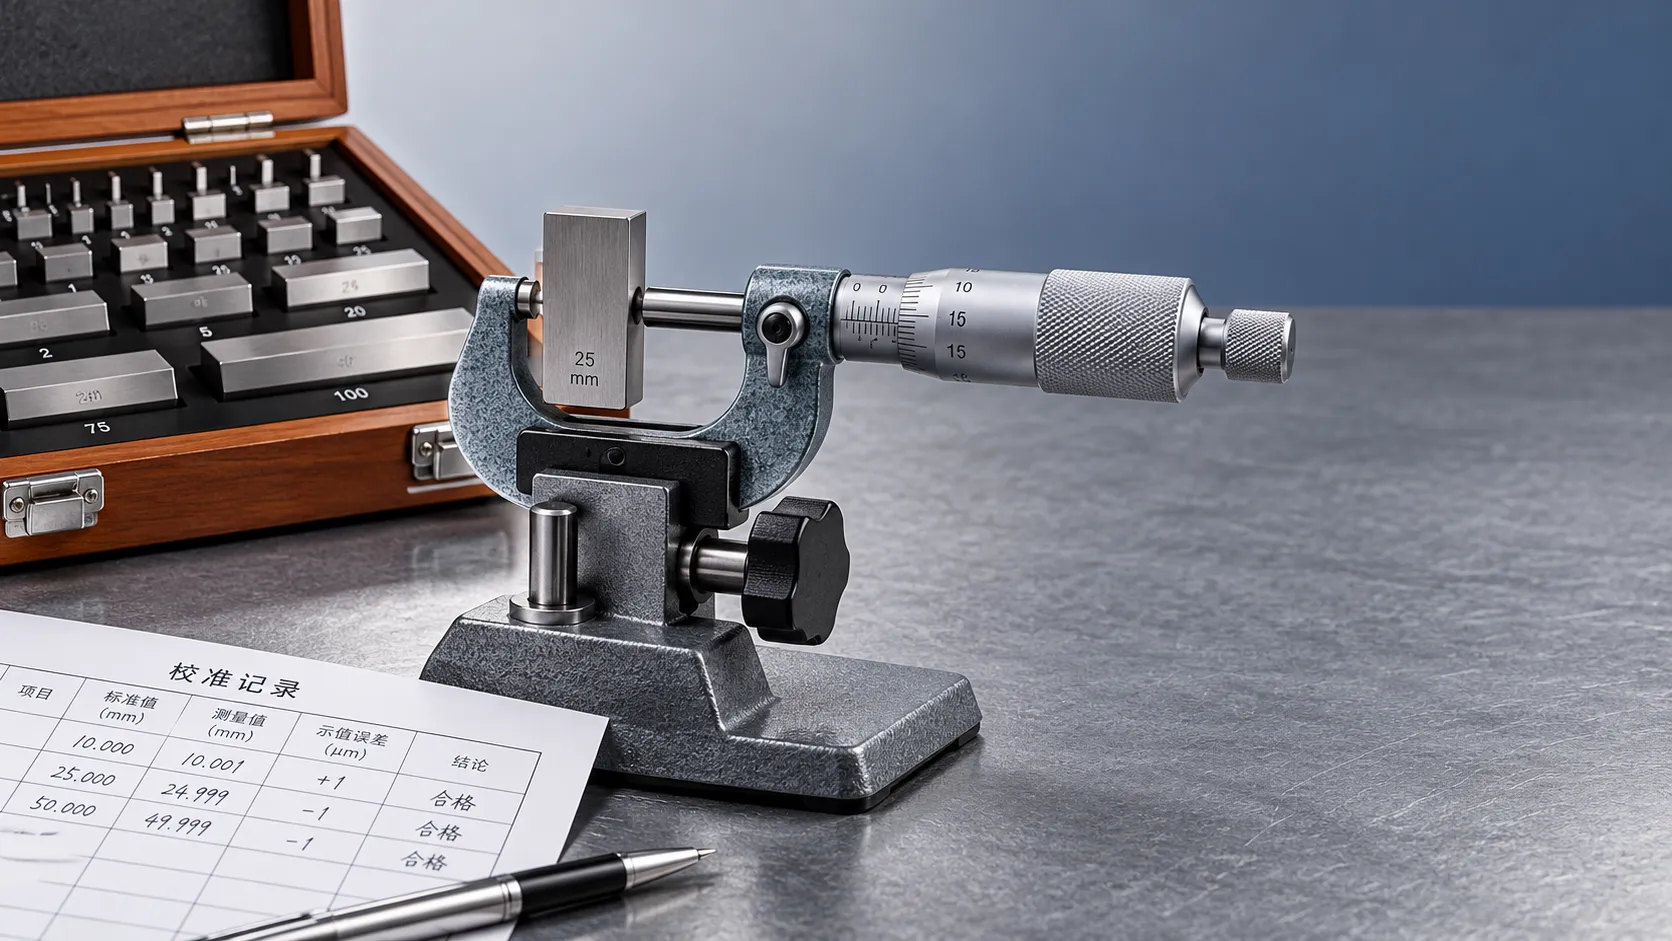
Choosing a High-Precision Measuring Instrument Supplier: Calibration and Support
Choose a high-precision measuring instruments supplier with confidence. Discover how to verify calibration, compare support, and control lifecycle costs before you buy.
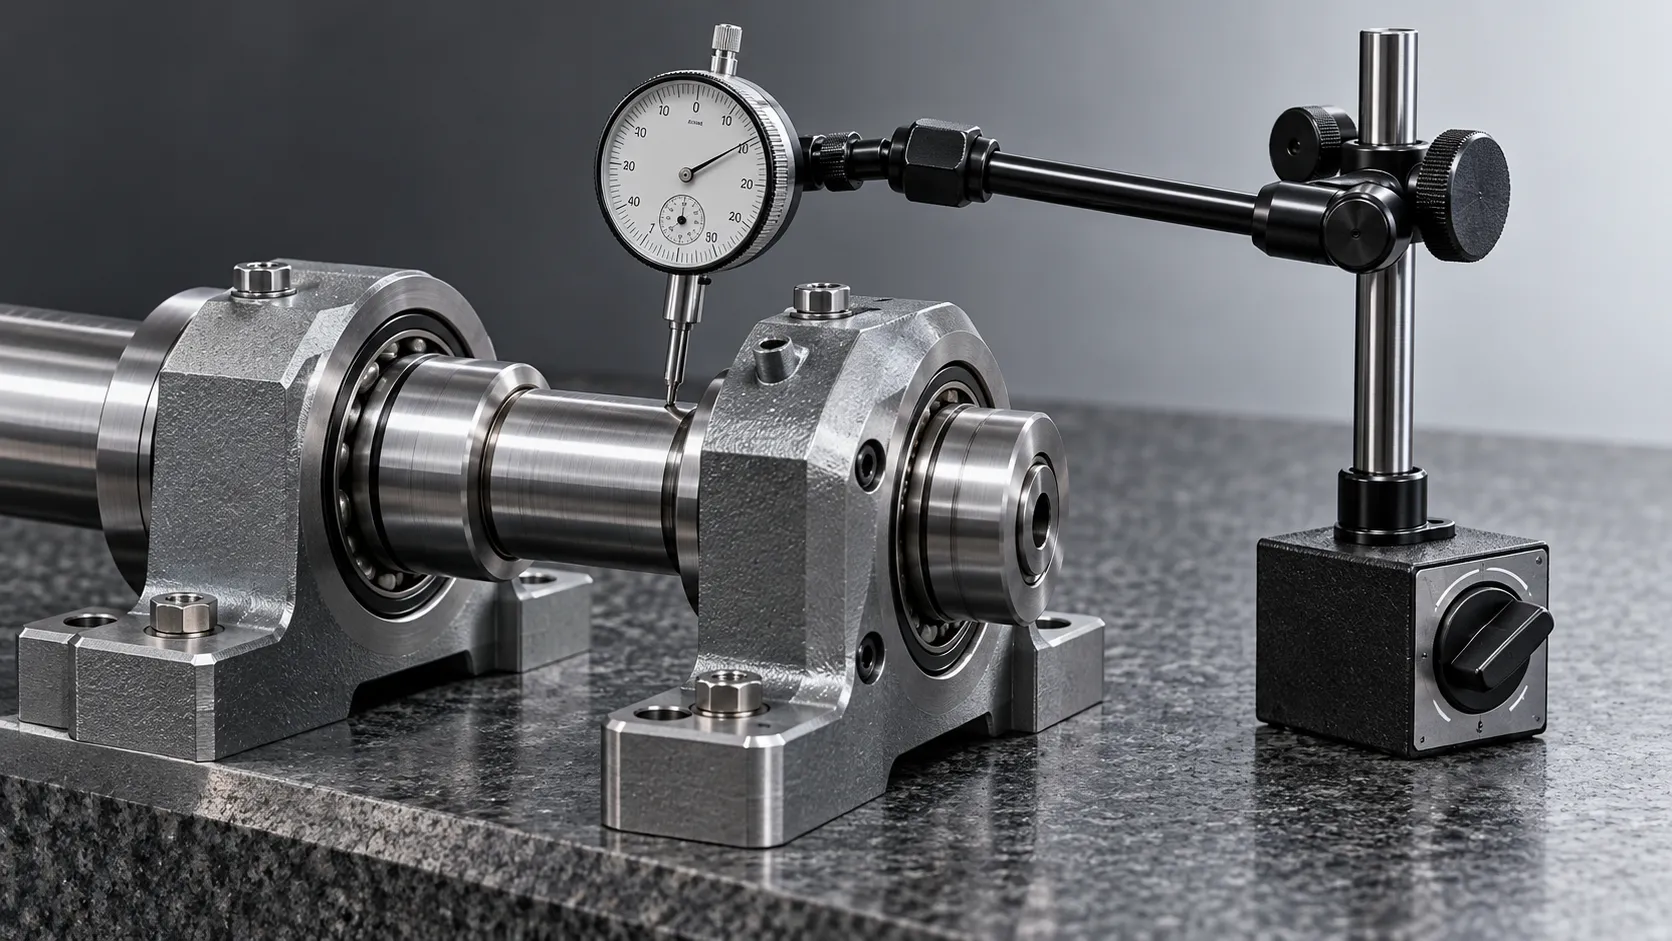
What Defines Craftsmanship in Metalworking? Fit, Finish, and Precision
Discover what defines craftsmanship in metalworking: fit, finish, and precision. Learn how to spot quality, assess suppliers, and choose parts that perform reliably.
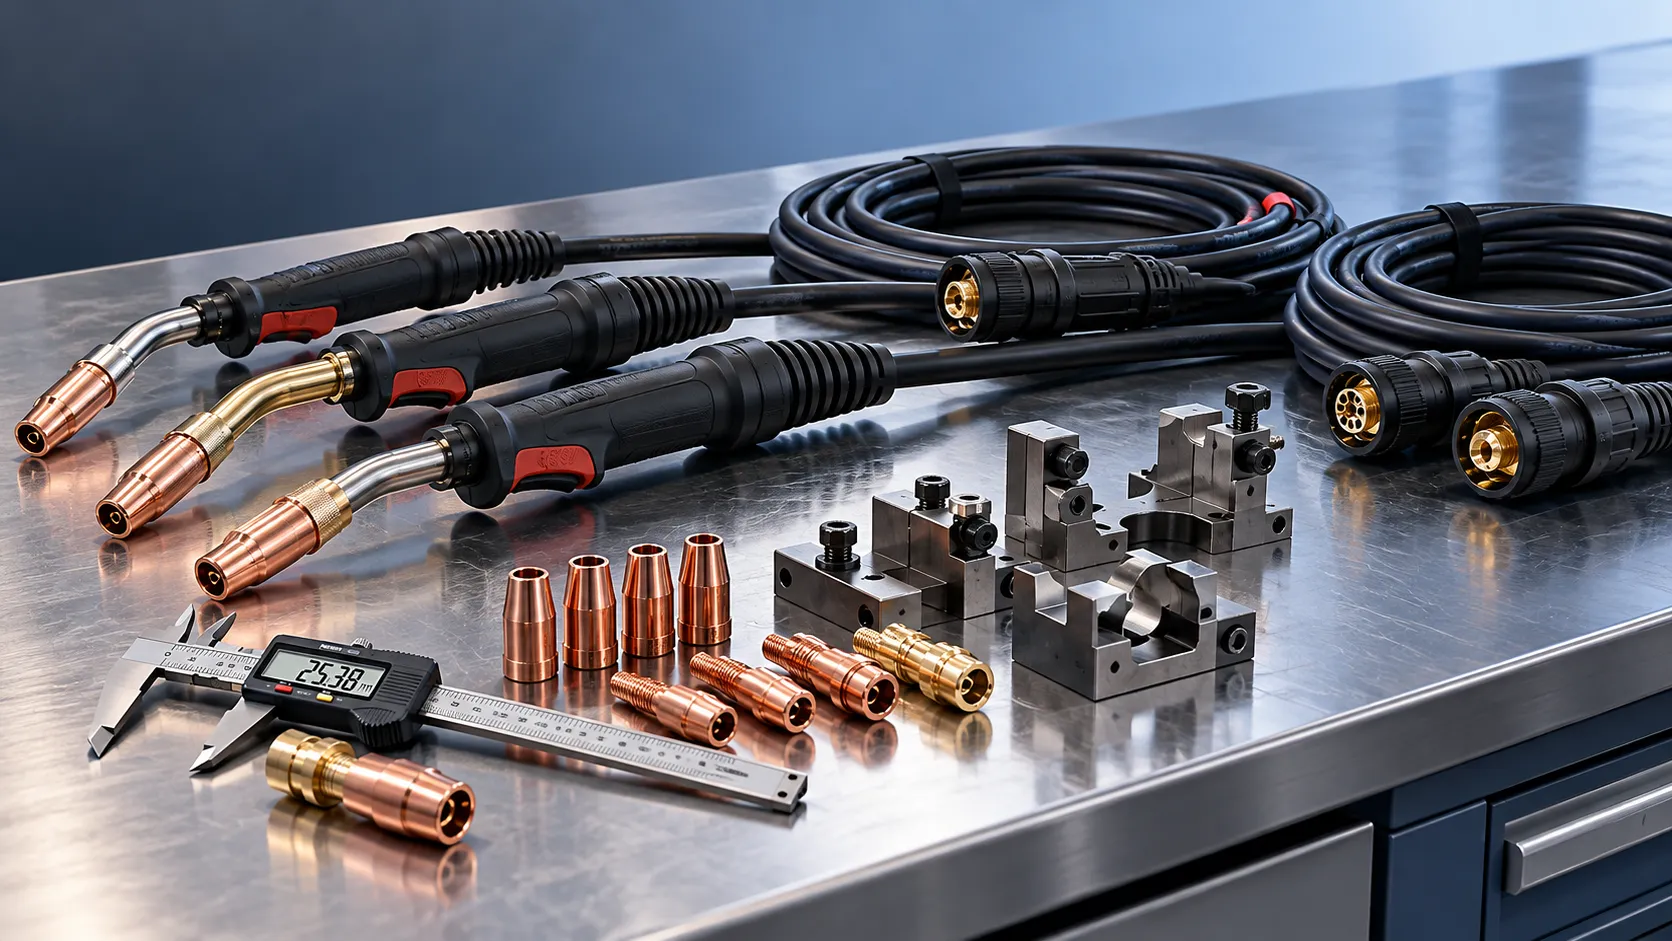
Choosing a Welding Tools Manufacturer: Quality Checks Before a Bulk Order
Choosing a welding tools manufacturer? Discover essential quality checks, sample tests, and inspection terms to reduce bulk-order risks and buy with confidence.
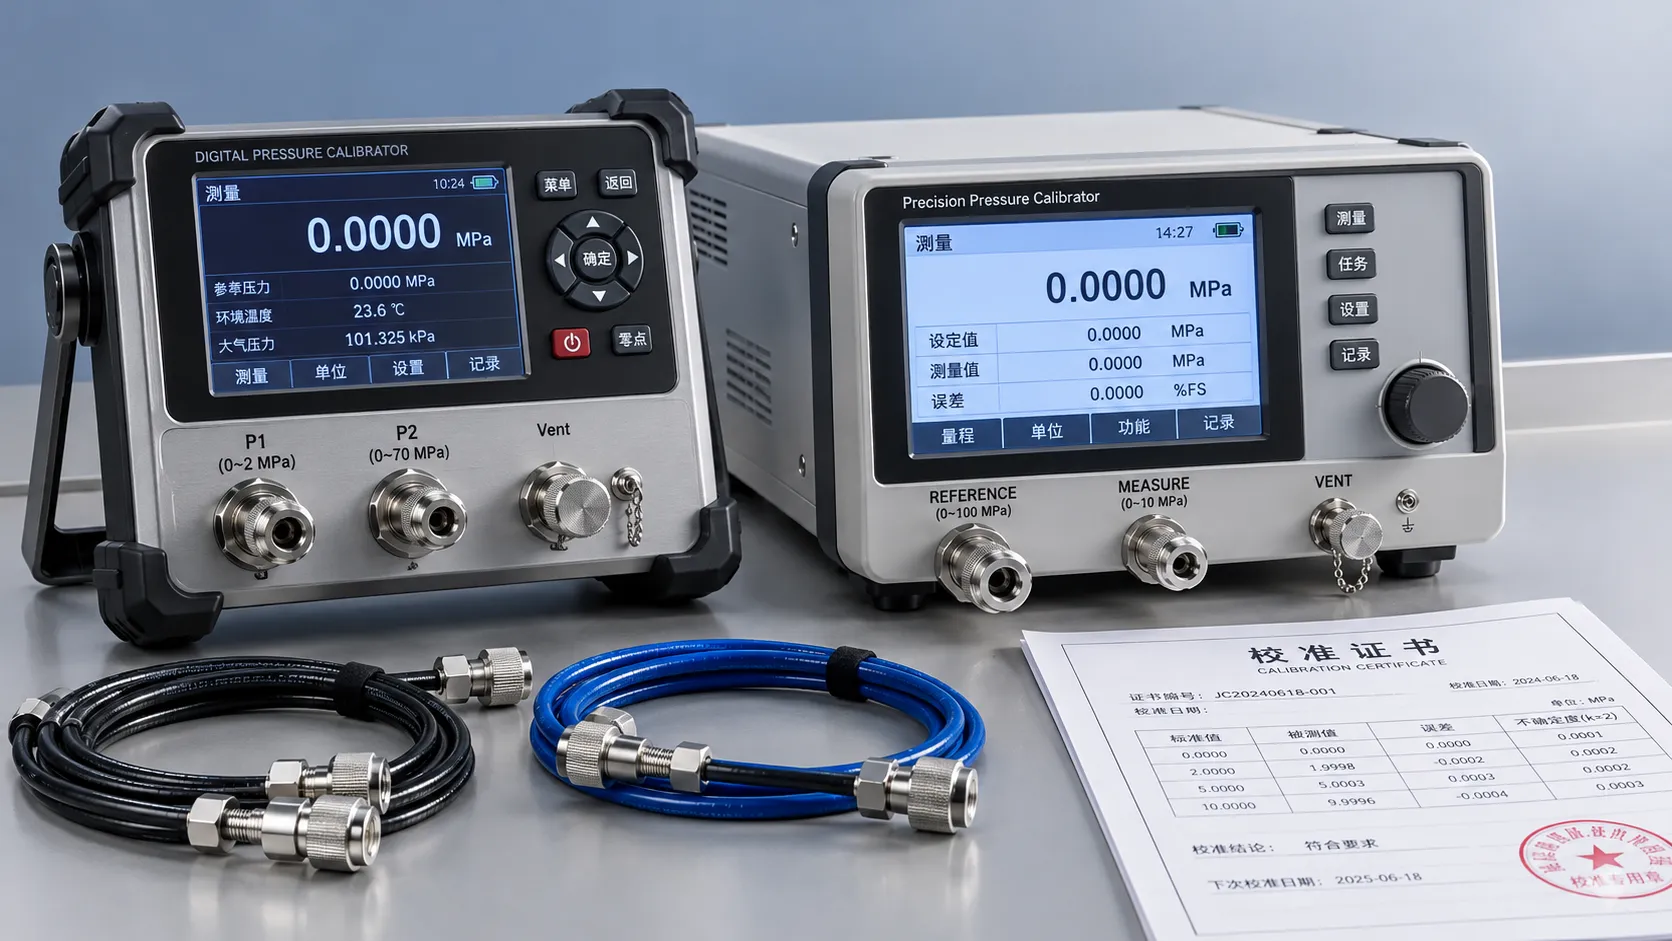
How to Compare Calibration Tools: Range, Uncertainty, and Traceability
Explore product comparison resources for calibration tools. Compare range, uncertainty, and traceability to choose confidently and support defensible measurement decisions.
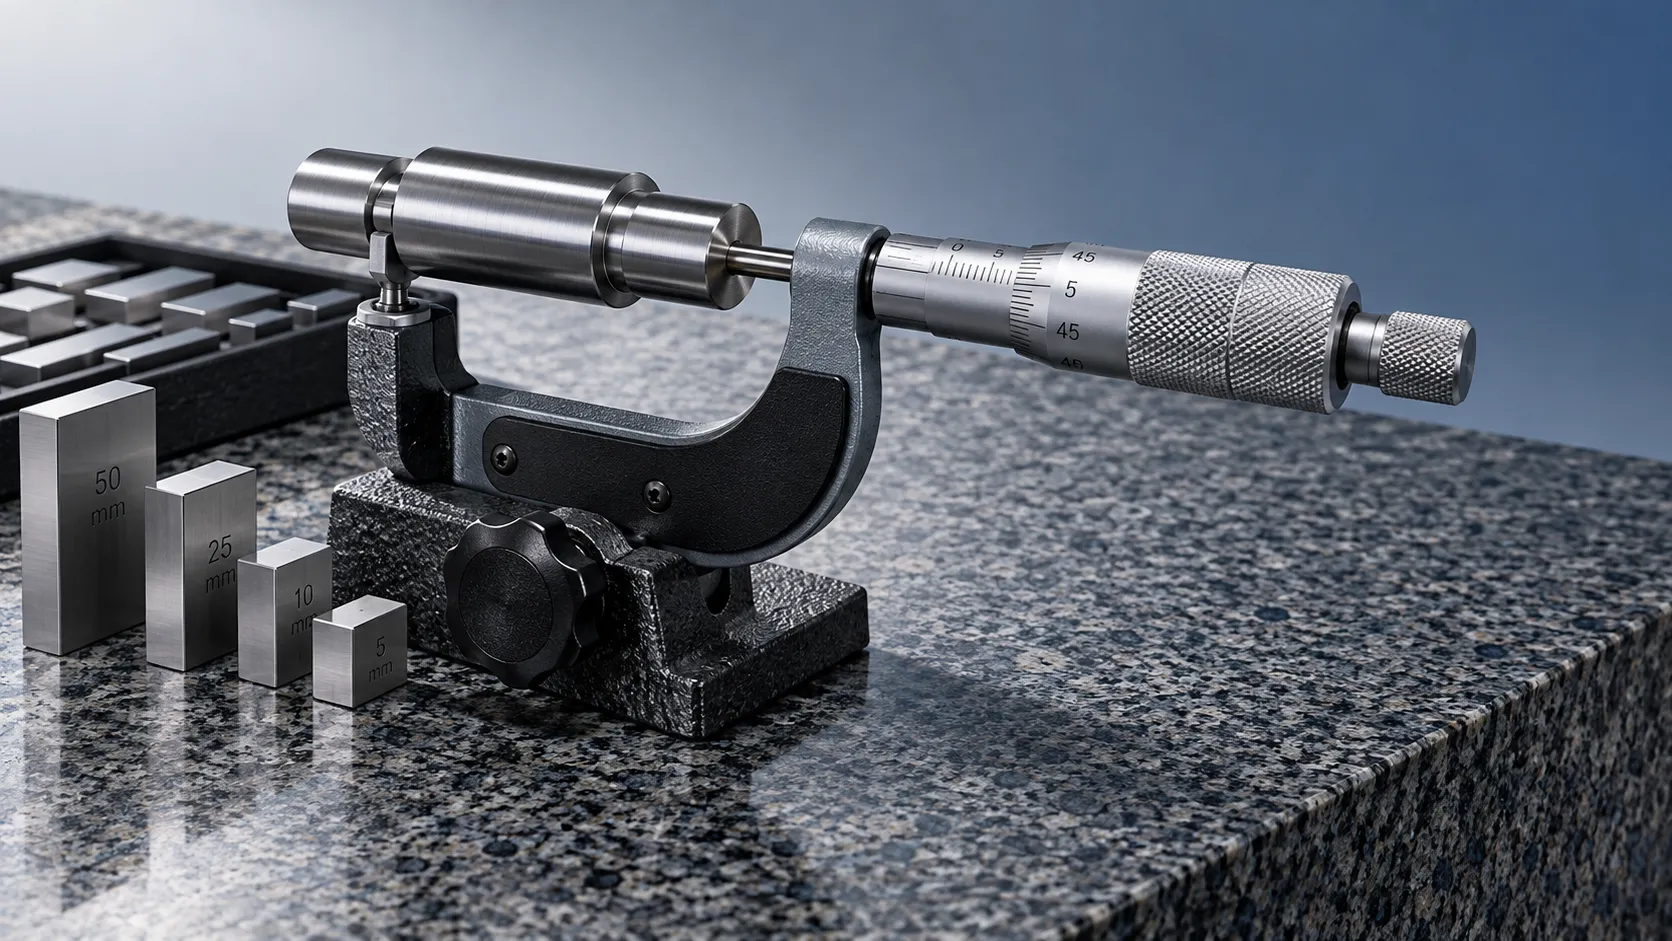
Choosing Industrial Metrology Tools: Matching Measurement Uncertainty to Tolerances
Improve industrial tool selection for metrology by matching measurement uncertainty to tolerances. Learn how to reduce inspection risk and choose equipment with confidence.
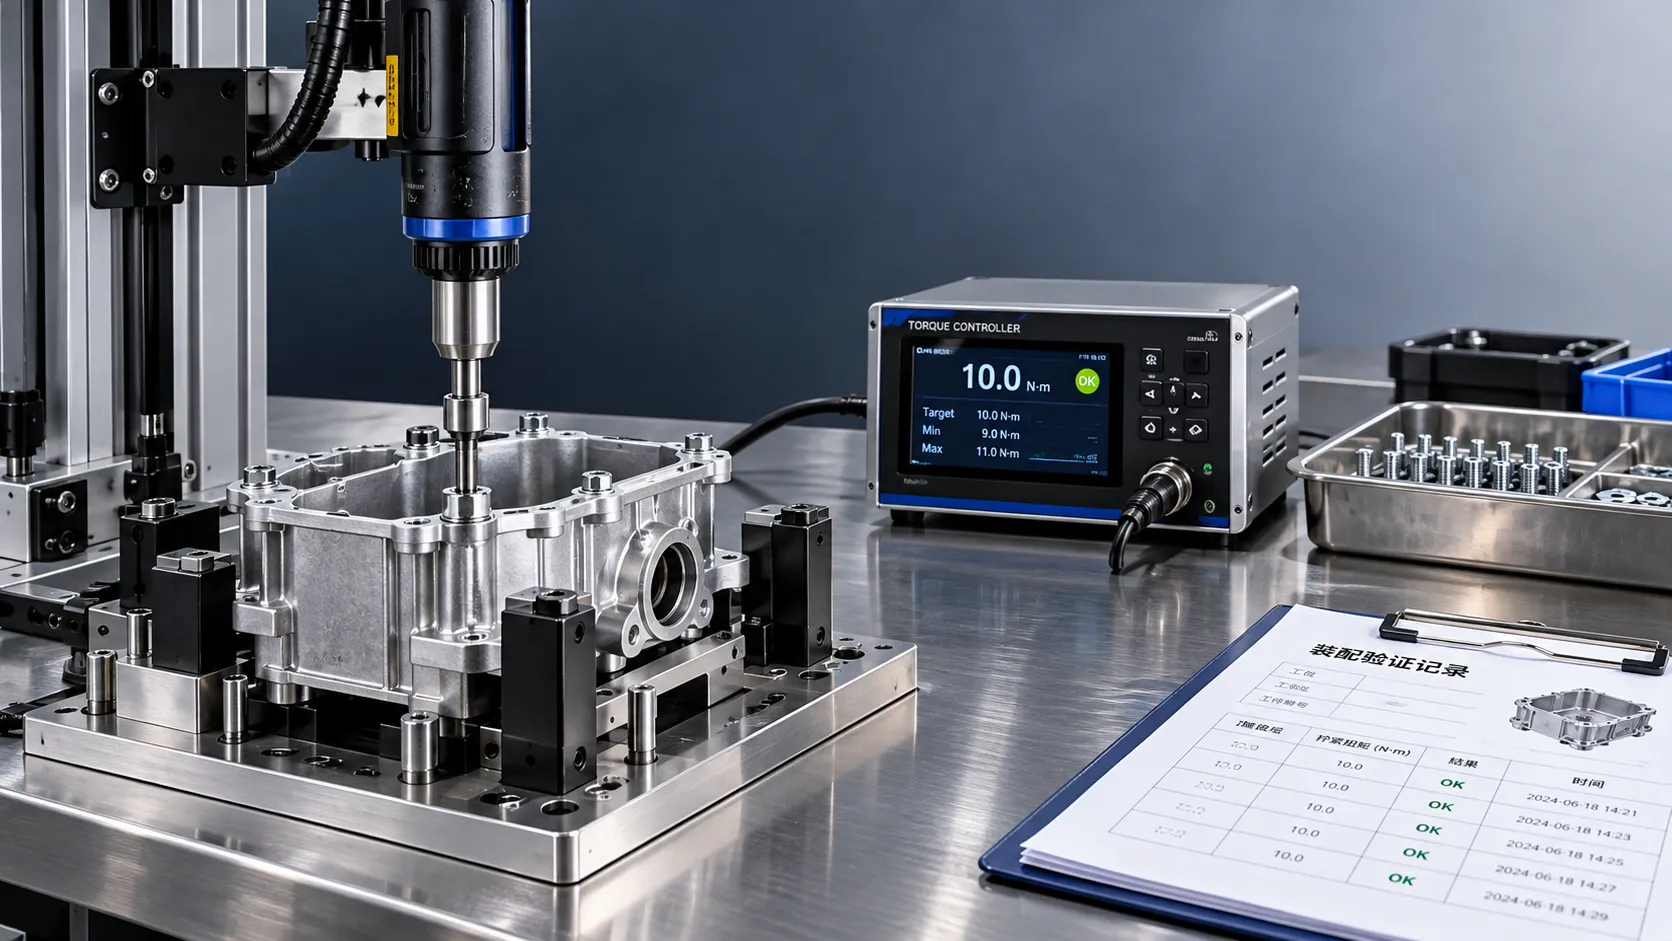
Torque System Suppliers: How to Assess References for Assembly Projects
Explore supplier and solution references torque systems buyers should verify. Assess assembly fit, traceability, and support to reduce risk and choose with confidence.
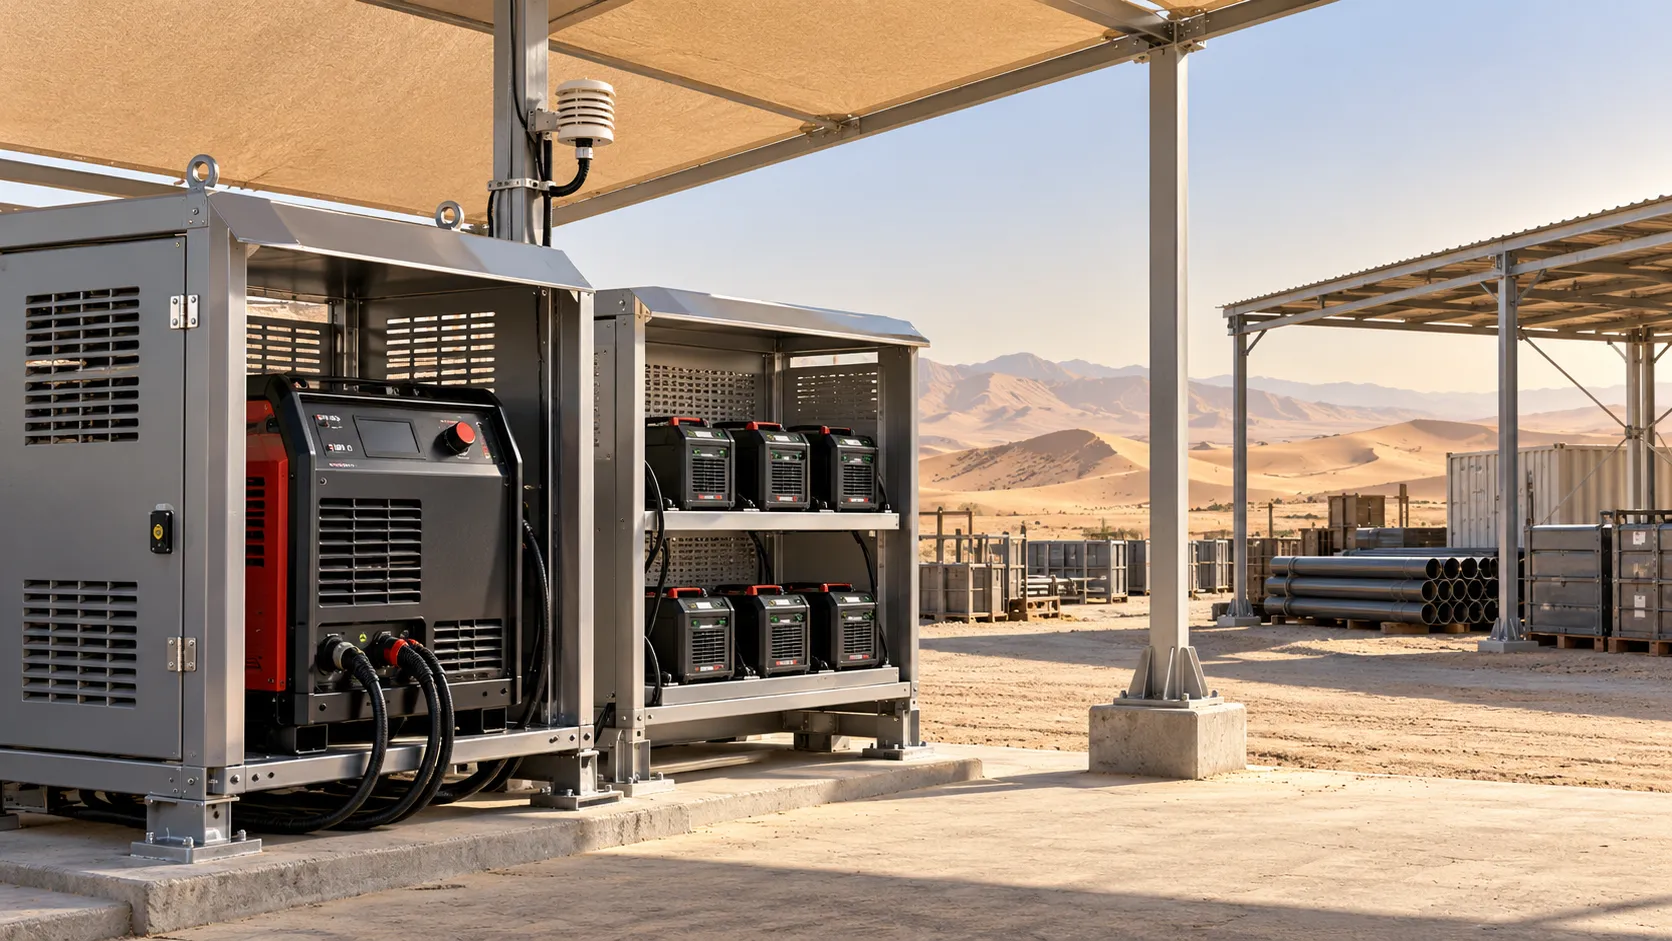
Equipment Application Guidance for the Middle East: Managing Heat and Dust
Explore application guidance Middle East teams can use to manage heat and dust, protect welding equipment, batteries and precision tools, and reduce downtime. Get practical tips.
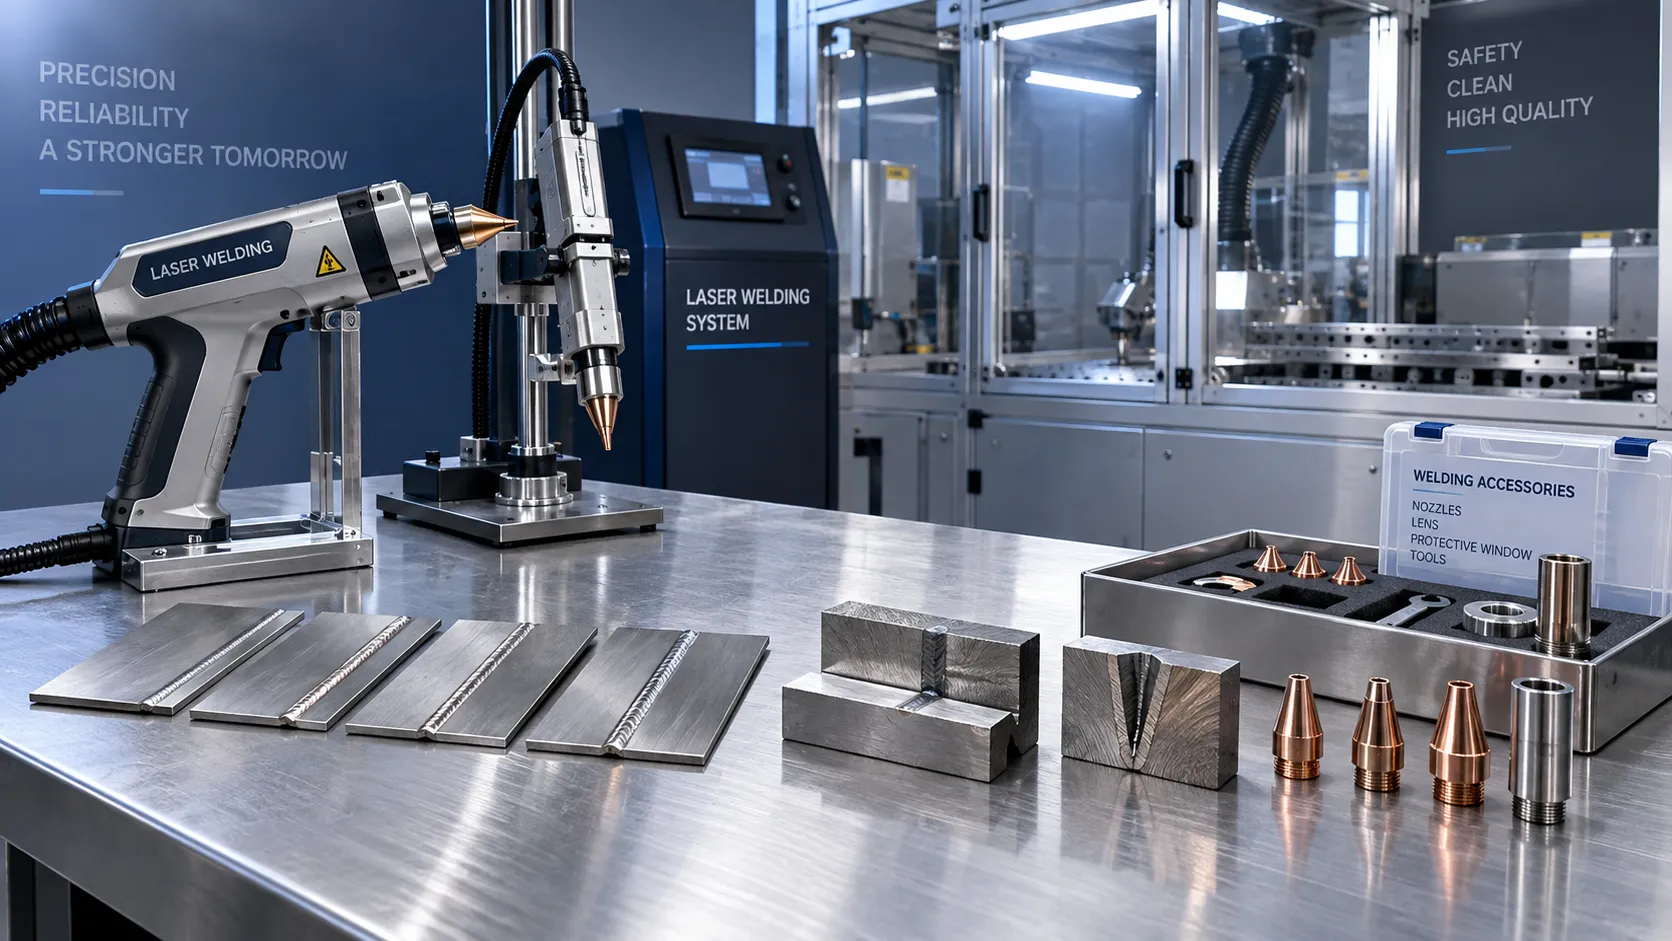
Choosing a Handheld Laser Welding Supplier: Weld Trials, Training, and Service
Choose a handheld laser welding supplier with proven weld trials, safety training, and reliable service. Learn what to verify before buying to reduce downtime and protect your investment.
Related News
- 00
0000-00
ADAS Calibration After Vehicle Maintenance: Which Jobs Require It? - 00
0000-00
Equipment Application Guidance for the Middle East: Managing Heat and Dust - 00
0000-00
Choosing an Industrial IoT Platform: Key Criteria for Legacy Equipment - 00
0000-00
How to Select High-Precision Measuring Instruments for Tight-Tolerance Production? - 00
0000-00
How Do Advanced Manufacturing Methods Improve Batch Consistency?
0000-00
Prof. Marcus Chen
Weekly Insights
Stay ahead with our curated technology reports delivered every Monday.