
How to Choose Metalworking Tools for Sheet Metal by Thickness and Forming Tasks





Start with the job, not the tool catalog
When people compare metalworking tools for sheet metal, they often begin with brand, power rating, or machine size. That is usually backward. The first pass should be about the part: material type, thickness range, bend radius, hole pattern, edge condition, cosmetic requirement, and how much forming happens after cutting. A tool that looks strong on paper can still be the wrong choice if it leaves a heat-affected edge that cracks on the next bend, or if it holds tolerance only on flat blanks but not on formed parts.
For technical evaluators, the real question is simpler: which tool set will hold repeatable results across your actual thickness band and forming tasks, with the least rework? That means checking capability in sequence, because sheet thickness alone never tells the whole story.
Define the thickness window before you compare anything
Do not evaluate equipment against a single nominal thickness. Build the range you really process: minimum, nominal, and maximum, plus any material changes such as mild steel, stainless, or aluminum. The same gauge number can behave very differently once alloy, temper, or surface condition changes. Thin aluminum that cuts easily may still distort during clamping. Stainless may require different forming force and can expose edge quality problems faster than mild steel.
- List the thinnest sheet that must stay flat after cutting.
- List the thickest sheet that must still meet bend angle and edge requirements.
- Separate cosmetic parts from structural parts. They drive different tool choices.
- Note whether the same tool must handle mixed materials in the same shift.
A common mistake here is buying for the occasional heavy sheet and accepting poor control on the thinner work that pays most of the bills. If your volume is concentrated in light-gauge material, prioritize flatness, burr control, and low marking. Overspecifying for force can hurt productivity where precision matters more.
Match the cutting method to what happens next
Cutting is not just about separating material. It sets up every downstream step. If the blank will be bent tightly, hemmed, welded, or exposed in a visible assembly, edge condition matters as much as speed. This is where many tool reviews stay too shallow.
If you are comparing shears, nibblers, turret punching, laser cutting, or plasma for sheet work, evaluate them against the formed part requirement, not only against raw cut speed. A fast process that creates burr cleanup, sorting errors, or bend failures is rarely the cheaper process.
Check bend radius, flange length, and return geometry early
This is where tool selection gets practical. Thickness and forming task meet here. The press brake, folder, hand seamer, roll former, or slip roll has to produce the required shape without forcing the operator into unstable setups. Tight inside radii on thicker sheet, short flanges near hems, and parts with returns or offset forms can eliminate otherwise capable tools.
Ask three blunt questions:
- Can the tooling physically access the bend sequence without crashing into formed features?
- Can it maintain the required inside radius across the actual thickness spread, not just one sample sheet?
- Will springback control remain stable when material batches change?
Evaluators sometimes focus on tonnage and overlook tooling geometry. In real production, bend success is often limited by punch and die selection, bed opening, support method, and backgauge repeatability. If your parts include boxes, channels, or multiple close bends, run the bend sequence through the tooling envelope before approving the machine.
Do not treat thin sheet and thick sheet as the same forming problem
Light-gauge sheet tends to punish poor support and poor operator feel. Thicker sheet punishes underpowered setups and weak tooling alignment. Those are different failure modes, and the tool choice should reflect that.
- Thin sheet: look for sheet support, low marking contact surfaces, fine control at low force, and stable gauge repeatability. Warping, oil canning, and cosmetic damage are the usual headaches.
- Thicker sheet: focus on frame rigidity, tool deflection, available forming force, and edge preparation before bending. The usual problems are angle inconsistency, cracking near the bend line, and fit-up issues after forming.
If one line must cover both ends of the range, ask where compromise is acceptable. Sometimes the answer is one machine with multiple tooling sets. Sometimes it is a split process, because trying to make one setup do everything just spreads defects around the shop.
Measure accuracy where it actually fails
Vendor demos often highlight straight cuts and simple bends. Those are easy wins. What matters is performance on troublesome features: small hole-to-edge distances, slots near bend lines, narrow tabs, long flanges, and repeat bends on mixed batches. Build your evaluation around those.
Useful checkpoints include blank flatness after cutting, burr consistency across sheet thickness changes, bend angle repeatability after tool change, and whether formed dimensions stay within tolerance without operator correction on every part. If your application has mating hardware or welded assemblies downstream, include fit-up checks. A part can pass bench measurement and still fail assembly because the bend sequence amplified small cut errors.
Look hard at tool wear, not just initial capability
Many sheet metal tools look equally capable on day one. The gap shows up after wear starts. Cutting edges dull, dies pick up marking, brake tooling loses consistency, and clearance that was acceptable on thick material starts damaging thinner stock. If you are reviewing metalworking tools for sheet metal, ask how output changes after normal production wear, not only when everything is new.
This is especially important where operators switch between materials. Stainless and coated sheet can expose wear patterns quickly. Review maintenance points in plain terms: how often alignment needs checking, how tooling is resharpened or replaced, whether wear creates gradual drift or sudden defects, and how much downtime the correction takes. A machine that holds tolerance only with constant intervention is not stable enough for serious evaluation work.
Factor in joining and finishing before you lock the tool choice
A sheet metal part rarely ends its life at the brake. It may be spot welded, fastened, clinched, laser welded, ground, painted, or powder coated. Those next steps should influence the original tool decision. For example, edge roughness that seems acceptable on a bracket may create handling risk, coating defects, or poor seam appearance later. Hole distortion from punching can also become a problem when hardware insertion needs clean alignment.
If welded appearance matters, inspect how the cutting and forming route affects joint preparation. If cosmetic coating matters, inspect surface marking from clamps, dies, and support rollers. These are not secondary issues. They often decide whether the chosen process creates smooth flow or a hidden queue of rework.
Separate throughput claims from real production efficiency
Technical evaluators hear a lot about speed. The better question is where the line actually loses time. On sheet metal, that may be at material handling, setup, tool change, deburring, bend correction, or part sorting. A slower cutting method with cleaner edges can outperform a faster one once total labor is counted. The same applies to forming equipment: stable first-pass bends are usually worth more than headline cycle time.
During comparison, track these practical points:
- How long it takes to switch between thicknesses and tooling profiles
- Whether operators need manual compensation after every first article
- How much edge finishing is required before the next process
- Whether part distortion increases scrap during stacking or transport
Those four items usually tell you more than a brochure cycle time.
Use a short decision path when reviewing options
A workable evaluation path is to screen tools in this order: thickness range, material mix, downstream forming sensitivity, geometry access, accuracy on difficult features, then maintenance burden. That order keeps you from overvaluing equipment that performs well in a narrow demo but poorly across your real workload.
If two options remain close, choose the one that reduces process variability at the handoff between cutting and forming. In sheet metal work, that handoff is where costs accumulate quietly. Burrs become bend cracks. Minor twist becomes fixture struggle. Small angle drift becomes assembly mismatch. The best tool is usually not the one with the most impressive standalone spec. It is the one that keeps the whole route predictable.
What to lock down before final approval
Before signing off, validate the candidate setup on representative parts from the thinnest and thickest sheets you expect to run, and include at least one geometry that is awkward to form. Check cut edge, bend result, surface condition, and downstream fit. Record the tooling combination used, because repeatability depends as much on the setup package as on the machine itself.
That final check should leave you with a plain answer: which tool combination covers your real thickness band, which tasks need dedicated tooling, and where process limits begin. Once those boundaries are clear, the buying decision gets much easier, and the risk of expensive surprises in production drops fast.
Related News

How Procurement Teams Can Map the Industrial Value Chain to Reduce Supply Risk
Industrial value chain procurement helps teams map hidden dependencies, qualify resilient sources, and reduce supply risk before disruptions stop production.

How Specification-Driven Articles Improve Precision Measurement System Selection
Specification-oriented articles precision measurement guidance helps teams compare accuracy, repeatability, environment, and data needs to select reliable systems with confidence.

How to Evaluate a Technology Integration Service Provider for Complex Projects
Technology integration service provider selection guide: evaluate interface ownership, delivery discipline, scalable architecture, and risk control for complex projects.
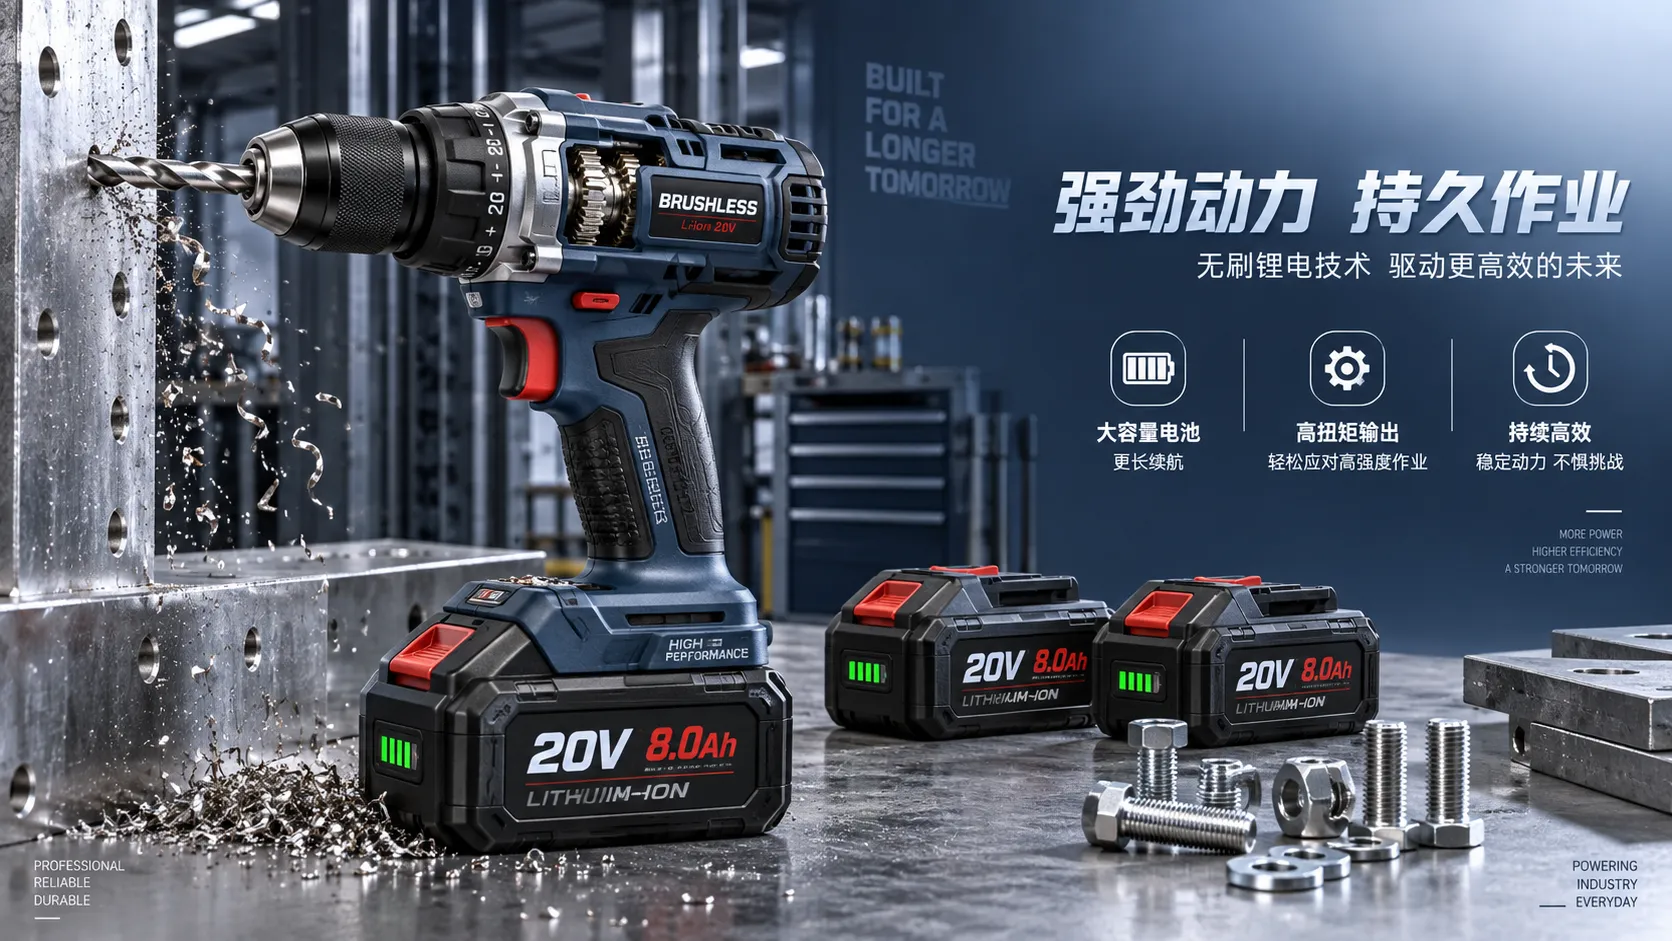
How Battery, Torque, and Duty Cycle Affect Cordless Power Tool Efficiency
Cordless power tool efficiency depends on battery output, torque, and duty cycle. Learn how to match tools to demanding jobs for stronger runtime and productivity.

Product Comparison Resources for Component Compatibility and Lifecycle Risk
Product comparison resources for components: evaluate compatibility, interfaces, service support, and lifecycle risk to reduce downtime, avoid redesigns, and make confident sourcing decisions.
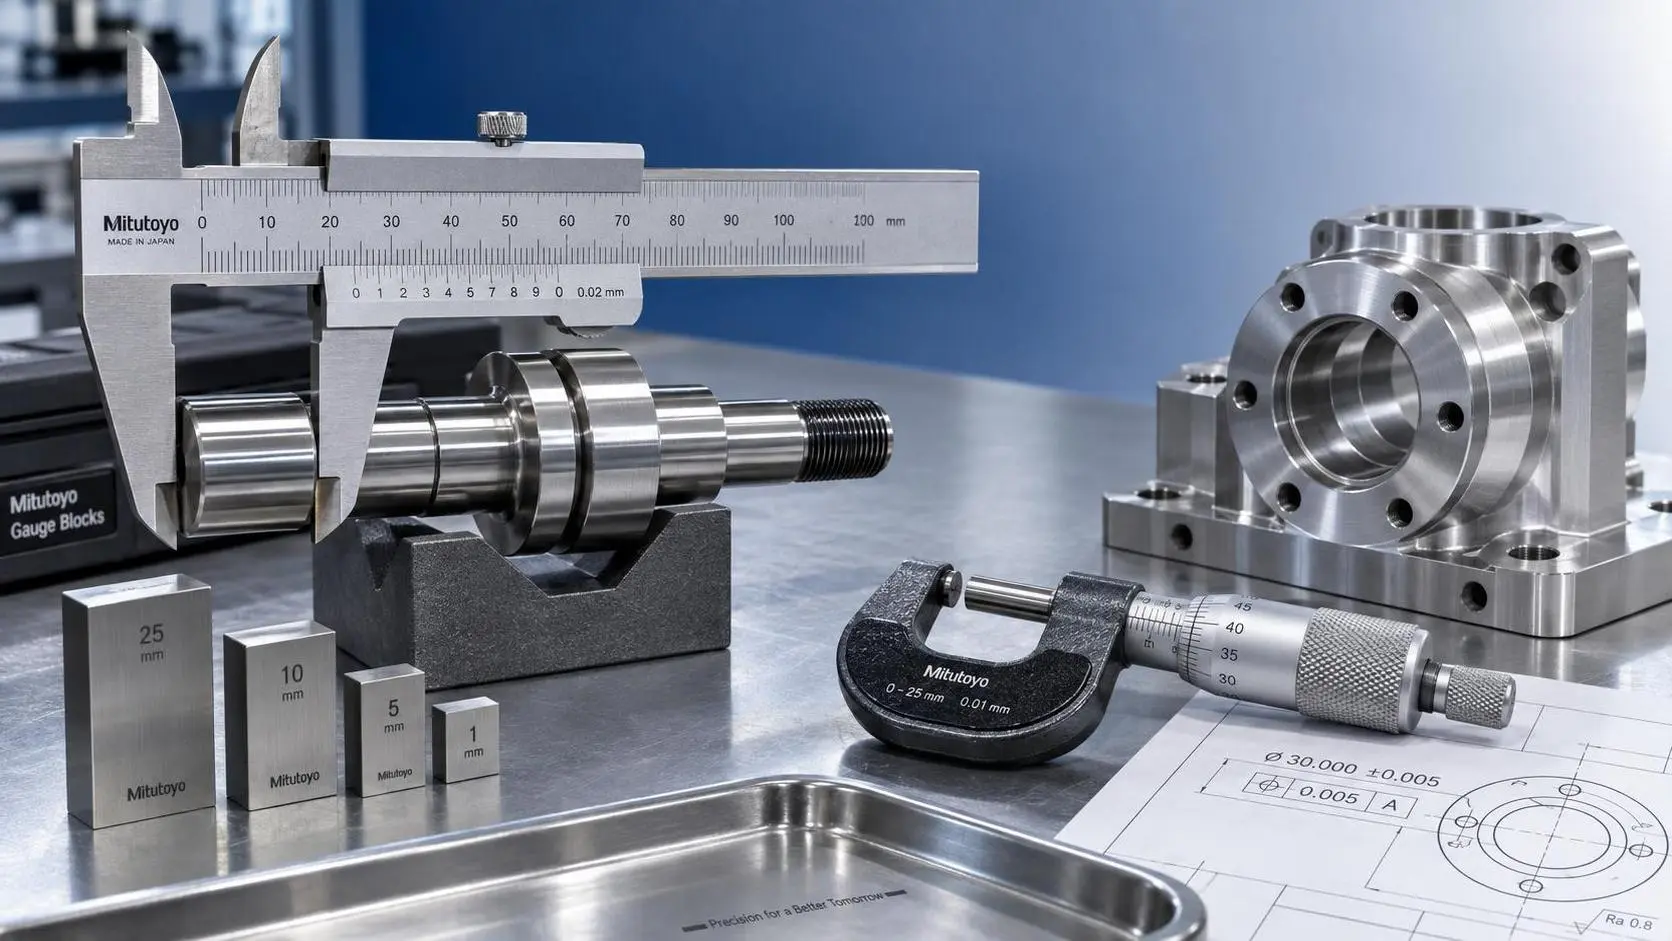
How to Select Vernier Precision Calipers for Tight-Tolerance Machining Inspection
Vernier precision calipers for tight-tolerance machining: learn how to select the right range, jaw design, accuracy, and verification process for reliable inspection.
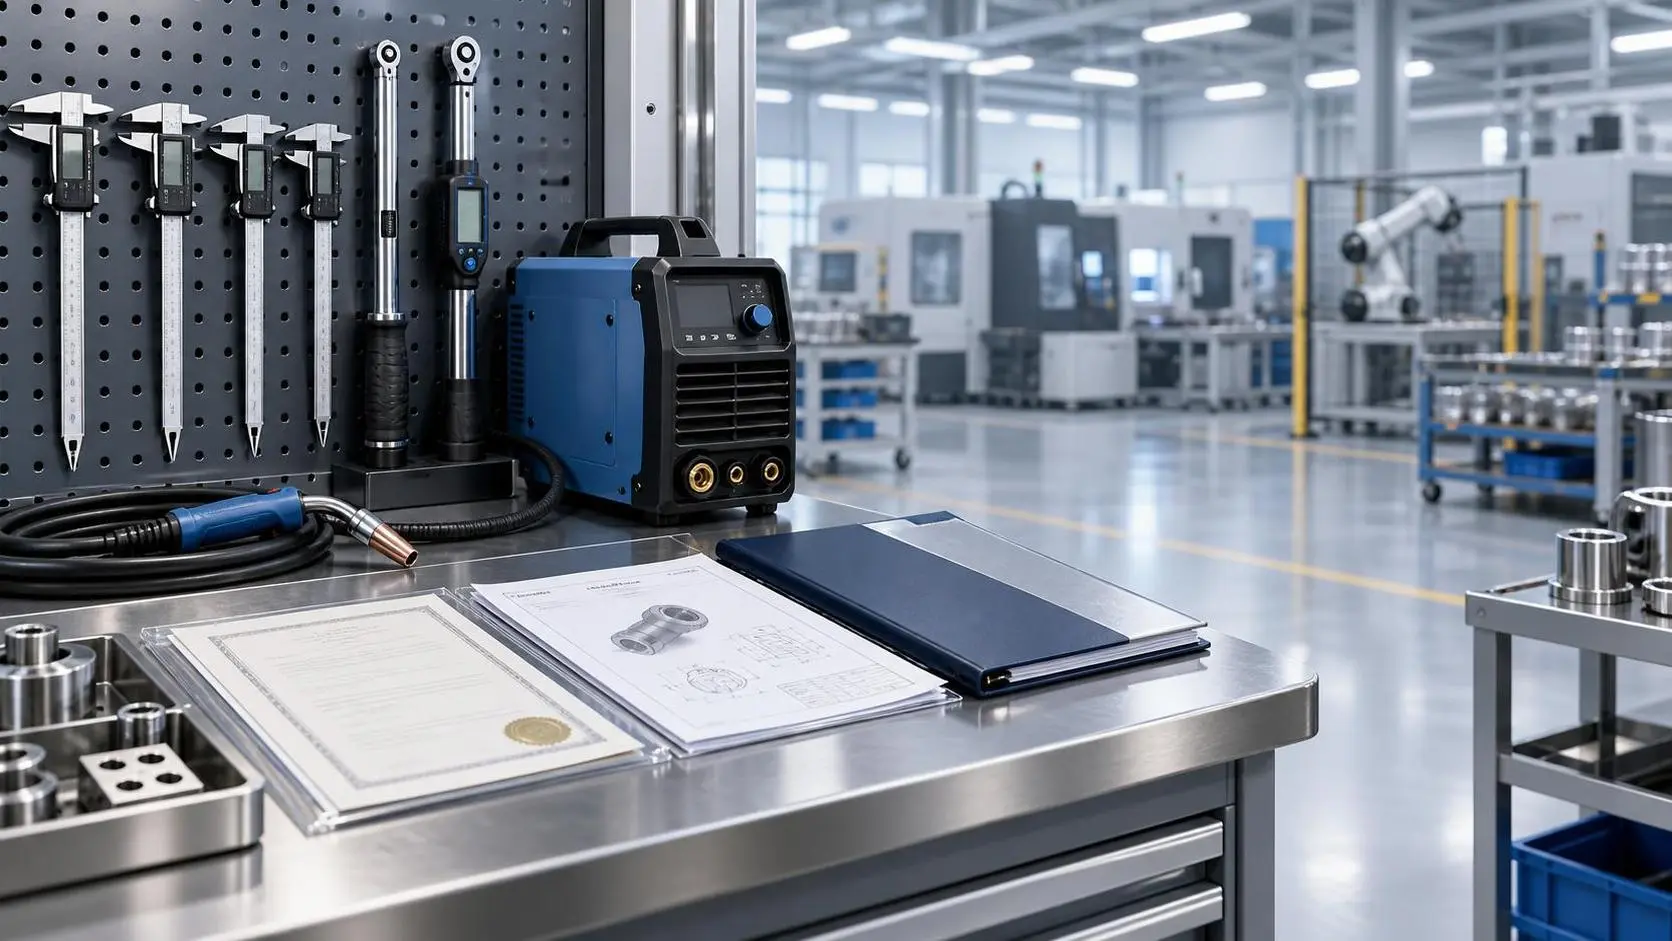
Product Comparison Resources in Europe: How Buyers Can Verify Specs and Suppliers
Product comparison resources Europe: learn how to verify industrial specs, compliance claims, supplier credibility, and delivery risk for smarter purchasing decisions.

How to Evaluate an Industrial Metrology Solution Manufacturer for Production Use
Industrial metrology solution manufacturer evaluation guide for production: compare accuracy, traceability, automation, software, service, and acceptance testing to reduce risk.

Which ISO Standards Matter Most for Precision Engineering Quality Control?
Precision engineering ISO standards explained: discover how ISO 9001, ISO/IEC 17025, ISO 10012, GPS, and ISO 3834 strengthen quality control, traceability, and compliance.
Related News
- 00
0000-00
How to Select Vernier Precision Calipers for Tight-Tolerance Machining Inspection - 00
0000-00
How to Choose Metalworking Tools for Sheet Metal by Thickness and Forming Tasks - 00
0000-00
Metrology Technology Europe: Which Systems Improve Inspection Accuracy on the Line? - 00
0000-00
How to Choose Precision Measuring Instruments in North America for Tighter Tolerance Work - 00
0000-00
Specification-Oriented Articles on Precision Measurement: Which Parameters Matter Most?
Metrology Fellow
Weekly Insights
Stay ahead with our curated technology reports delivered every Monday.